Icons not only help explain concepts easily but also add to the aesthetics of the presentation. They can be truly helpful if you want to evoke emotions and make your slideshows unforgettable. So, in this tutorial, we will teach you how to add and modify the icons in Google Slides in a few simple steps. Let’s check it out!
Step 1 – Select the icon of your choice. Press Ctrl + C to copy it, and then press Ctrl + V to paste it on the desired slide. You can select from our library of icons for Google Slides.
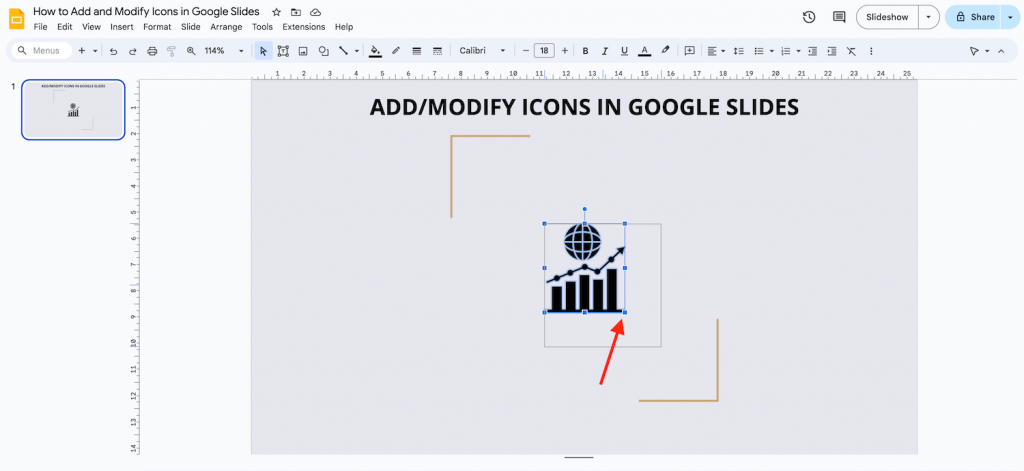
Step 2 – To modify the size of the icon, just click it, hold the Shift key, and drag one of its corners to keep the proportions.
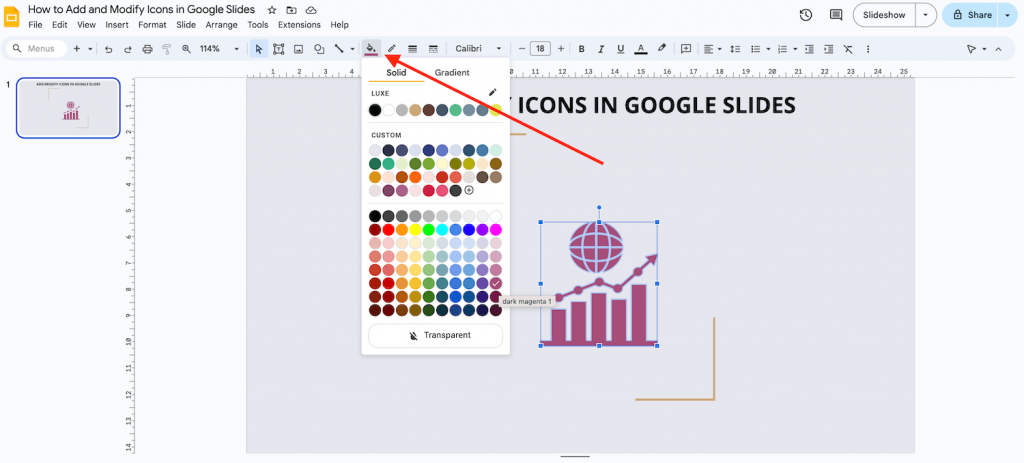
Step 3 – To change the color of the icon, select it and select Fill color or Line color. Select the Custom option to choose any other color that you want.
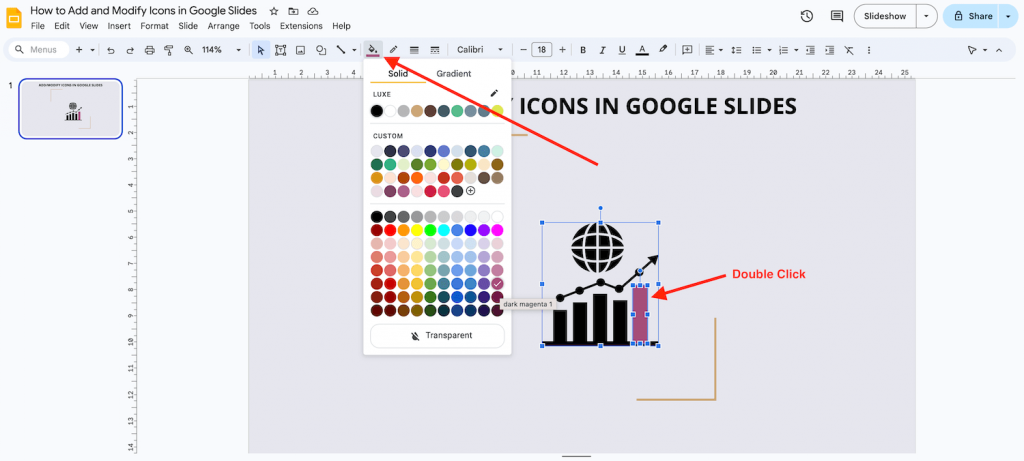
Step 4 – If you want to edit the color of a single part of the resource, double-click and select the desired part. Then proceed as explained above.
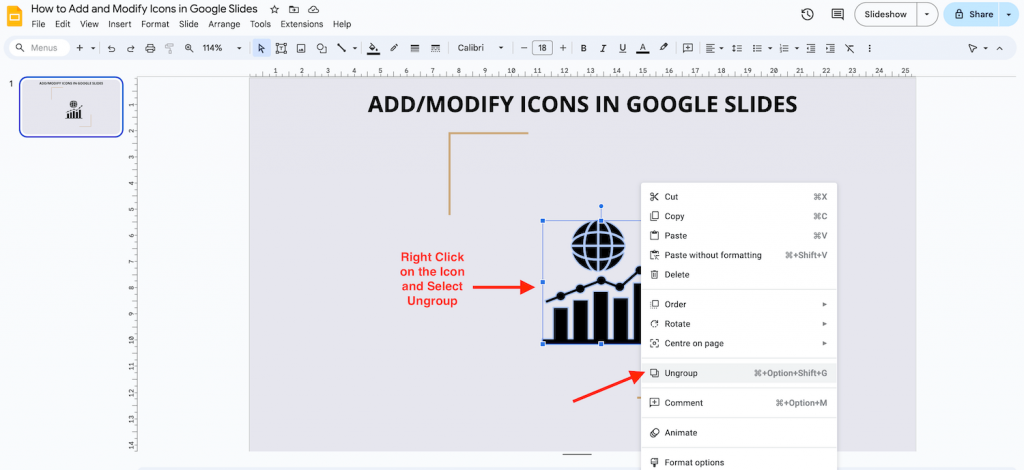
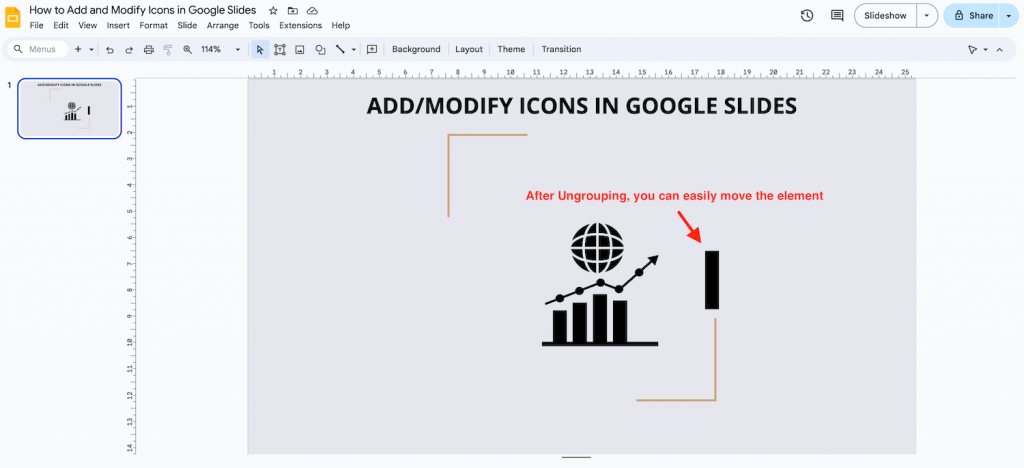
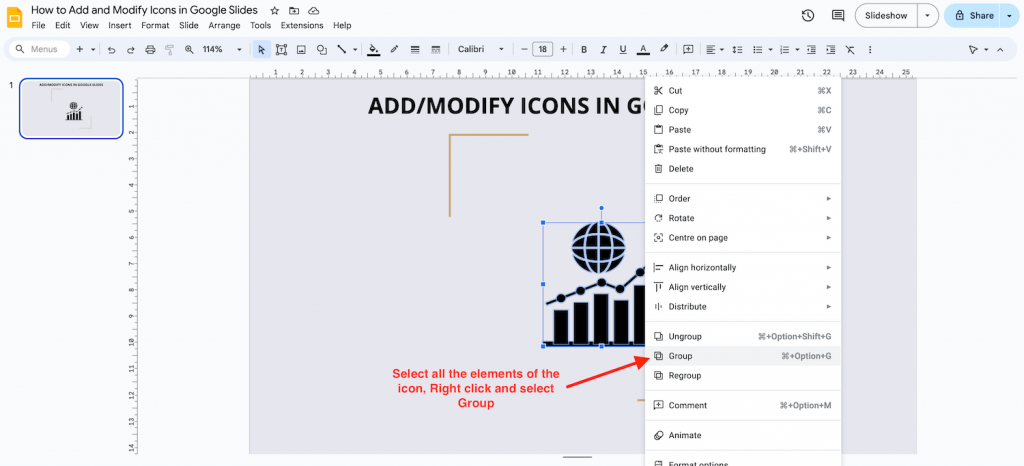
Step 5 – If you wish to work with just one of the elements separately (like changing its color, separating it from the rest of the elements, or deleting it), select the icon and press Ctrl + Shift + Alt + G to ungroup the elements. After you are done, group the elements again by selecting all the elements and pressing Ctrl + Alt + G or right-click → Group.
